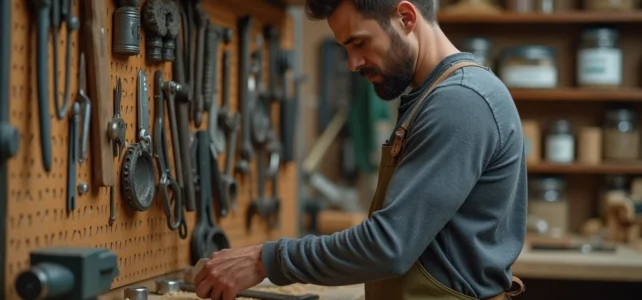
Assembling a shelf, filling a crack, installing a curtain rod: these small everyday projects don’t require ten years of experience, but they do require a minimum of appropriate tools. Being well-equipped before diving into DIY helps avoid getting stuck mid-task due to a lack of basic tools, and most importantly, it limits the risk of injury or poor results.
CE Marking and Safety: What Your Tools Must Ensure
Before even discussing hammers or drills, one point deserves your attention: the compliance of the equipment. All tools sold in Europe must meet safety standards, and the CE marking remains the first reliable indicator for a beginner.
A low-quality screwdriver without any standard indication can slip, break, or cause a short circuit on an electrical terminal. A pair of non-certified safety glasses offers no protection at all. Checking for the CE marking on the packaging takes three seconds and saves you from unpleasant surprises.
In 2026, the BQP DIY (basket of basic DIY products) was renewed and expanded, with controlled prices and systematic compliance with European standards. This national reference makes it easier for beginners to choose by grouping tools whose quality and safety are regulated. Before assembling your toolbox piece by piece, checking if your store offers a kit aligned with this basket can save you time and money.
To compare the available ranges, the equipment offered by Ben Le Bricoleur allows you to visualize tools by project category and level.

Hand Tools for Beginner DIYers: Building a Solid Foundation
Have you ever noticed that one screwdriver is never enough? Between Phillips screws and flat-head screws, you need at least two. This is the kind of detail that can hold up an entire Saturday afternoon if you haven’t thought of it.
Rather than an endless list, here’s a realistic foundation to cover most common household tasks:
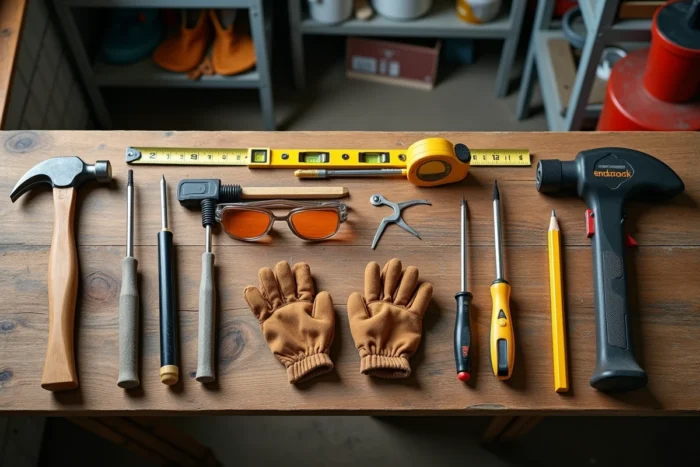
- A set of screwdrivers (flat and Phillips, in standard sizes) and a pair of pliers, which are useful for both light plumbing and basic electrical work.
- A medium-weight carpenter’s hammer, suitable for the hand, with a securely attached handle (check that it doesn’t move in the head before buying).
- A five-meter tape measure and a spirit level: measuring before drilling avoids unnecessary holes in a wall.
- A retractable blade cutter and a fine-toothed hand saw, sufficient for cutting soft wood, PVC, or plaster.
This foundation covers fastening, measuring, cutting, and tightening. Each tool serves a specific purpose. If you don’t know what a tool is for, you probably don’t need it right away.
Why Avoid Buying Power Tools Too Quickly
The drill-driver is tempting. It speeds up work and gives a sense of efficiency. But a beginner who doesn’t master the manual gesture risks drilling too deep, breaking a tile, or stripping a screw until its head is destroyed.
Starting with hand tools teaches the resistance of materials through tactile experience. You feel when the wood gives, when the plaster crumbles, when the screw bites. This tactile sensation is completely absent with a power tool. Once these gestures are mastered, the drill becomes a real time-saver rather than a source of mistakes.
Personal Protection in DIY: The Equipment We Always Forget
Most articles on beginner DIY mention safety glasses and gloves at the end of the list, almost out of politeness. Yet, a metal shard in the eye is unforgiving, even on a small project.
Three protections are sufficient to start:
- Wrap-around safety glasses (not sunglasses), worn whenever sawing, drilling, or sanding.
- Fitted work gloves, neither too loose (risk of snagging) nor too rigid (loss of precision).
- A disposable dust mask for sanding wood or plaster, as fine particles irritate the bronchi long before we realize it.
Unsure about the level of protection needed? Ask yourself the following question: what could fly towards my face during this task? If the answer is “dust,” “a wood splinter,” or “a piece of metal,” the corresponding protection is required.
Training Before Buying: DIY Can Also Be Learned Online
A tool without the accompanying technique remains an inert object. Watching a three-minute video on the proper way to hold a hand saw visibly changes the outcome from the very first cut.
Platforms like Institutdubricolage.com or Bricoludik.fr now offer structured courses for beginners, with step-by-step guided projects. Recent user feedback highlights a tangible benefit: training in advance reduces costly mistakes and allows for building confidence before investing in larger tools.
This intangible investment – a few hours of training – often outweighs the value of an additional tool in the box. Knowing how to diagnose a problem (load-bearing wall or partition, live wire or not, solid wood or particle board) determines the choice of the right tool and method.
Organizing a Minimal Workspace
No need for a dedicated workshop. A corner of the garage, a covered balcony, or even a work surface protected by a board is sufficient for small jobs. The idea is to have a clear space to place the work at the correct height. Working on the floor or in an unbalanced position multiplies the risks of accidents and degrades precision.
A low-cost folding workbench serves this purpose very well for beginners. It can be stored in a closet and provides a stable surface with an integrated clamping system.
DIY relies on a simple triptych: the right tool, the right gesture, the right space. None of the three compensates for the absence of the other two. Building a basic toolbox that complies with standards, learning fundamental gestures, and clearing a stable workspace is the foundation from which every project becomes achievable.