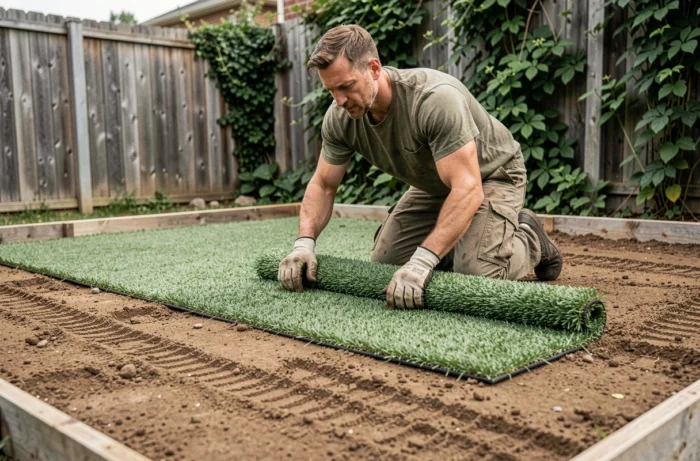
A clay court that turns into a quagmire with every downpour, or a dusty surface as soon as the first heat hits: this is often what motivates the installation of synthetic grass directly on natural soil. The success of this type of installation relies less on unrolling the roll than on the quality of the ground preparation beforehand.
Weeding the soil before synthetic grass: what the regulations require
Let’s start with a point that most installation guides overlook. Since July 1, 2022, the use of synthetic phytopharmaceutical products is prohibited in private gardens in France. The Labbé law, supplemented by the decree of January 15, 2021, only allows three categories: biocontrol, low risk, and products approved for organic farming.
In practice, this means that one can no longer spray a classic total herbicide on the soil before laying artificial grass. Weeding must be mechanical or thermal, period. Manual pulling, hoeing, thermal weeding with flame or steam: these are the compliant options.
Covering with an opaque tarp for several weeks is also an effective method to smother stubborn weeds. A black tarp is placed over the prepared soil, and the heat and absence of light do the work. It’s slower, but the result is reliable. Before you start, consult a comprehensive guide to install synthetic grass on soil that details each phase of the project.
Soil preparation: compaction and drainage slope
This is the phase that conditions everything else. Synthetic grass laid on poorly prepared soil will eventually buckle, form puddles, or allow weeds to regrow through the seams.
Excavate and level the ground
Remove stones, roots, and debris to a depth of a few centimeters. The goal is to achieve a smooth surface. If the ground has marked dips, fill them with crushed sand (granulometry 0/4), which offers a good compromise between drainage and stability.
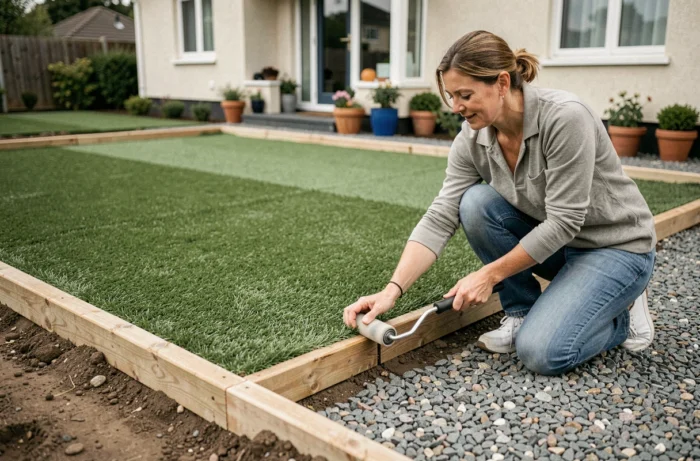
Soil compaction is the most underestimated step. A pass with a vibrating plate or a heavy lawn roller over the spread sand prevents future settling. Without serious compaction, the support settles unevenly over time, and undulations appear under the artificial grass.
Create a slight slope for drainage
On soil, water does not drain as quickly as on a slab. A minimum slope directed towards a drainage point (bed, edge, inspection chamber) should be planned. Water passes through the perforations of the synthetic grass, but it must be able to flow away without stagnating beneath the surface.
Feedback varies on this point: some installers consider the natural slope of the ground sufficient, while others insist on systematically correcting it. On clayey soil that retains water, it’s better not to take any risks.
Geotextile and fixing synthetic grass on loose soil
The geotextile felt serves a dual purpose. It prevents the regrowth of weeds through the grass, and it stabilizes the underlying layer of sand. It is rolled out over the entire prepared surface, with an overlap of a few centimeters between the strips.
A geotextile that is too thin allows weeds to penetrate in a few months. One should choose a sufficiently dense weight to ensure a durable anti-regrowth barrier. Models that are too light, often sold at a low price, do not last more than one season against aggressive grasses.
Unroll and cut the strips of grass
The roll of synthetic grass is always laid in the same direction, with fibers oriented towards the main viewpoint (terrace, bay window). Allow the grass to relax flat for a few hours before fixing it, especially in cool weather, as the material slightly contracts.
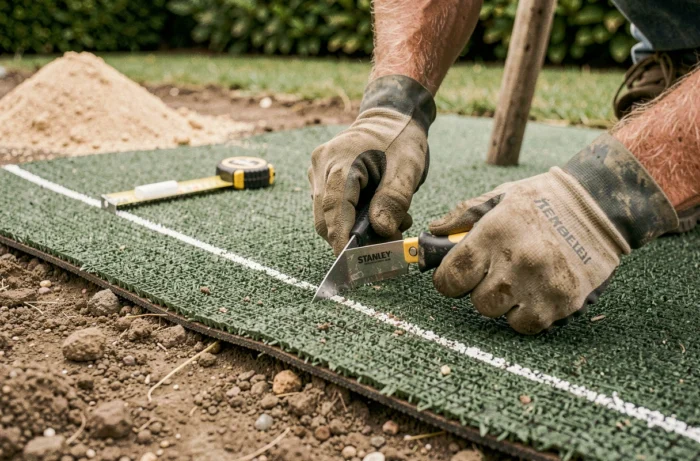
The cutting is done with a cutter following the contours of the ground (beds, trees, edges). For the joints between two strips, a glued joint tape or fixing staples driven in every twenty centimeters or so are used.
- Check that the fibers of both strips are oriented in the same direction before joining, or risk a very visible “striped” visual effect in full sunlight.
- Secure the edges of the grass with U-shaped metal pegs, spaced regularly around the entire perimeter, driven into the loose soil.
- Fill the fibers with weighting sand (silica sand or fine sand) to weigh down the grass, straighten the blades, and improve the feel underfoot.
Common mistakes that ruin an installation on soil
DIY forums are full of feedback on failed installations. The causes often come down to the same oversights.
- Installing without geotextile to save a few euros: weeds penetrate the grass in less than a year, and dismantling to correct the problem costs more than the initial membrane.
- Neglecting the compaction of the sand: the soil settles under high-traffic areas (access to terrace, gate) and creates visible dips from the first year.
- Gluing the joints in humid weather: the joint tape does not adhere properly, and the strips come apart at the first heat.
- Choosing low-quality grass without integrated drainage: water stagnates on the surface, odors appear, and mold develops between the support and the geotextile.
A well-prepared soil remains the only guarantee of a durable installation. The synthetic grass itself never compensates for a poorly done ground. It’s better to spend two days on preparing the support and one hour on unrolling than the opposite. On soil, this is what separates a synthetic lawn that lasts ten years from a surface that needs to be redone after two seasons.